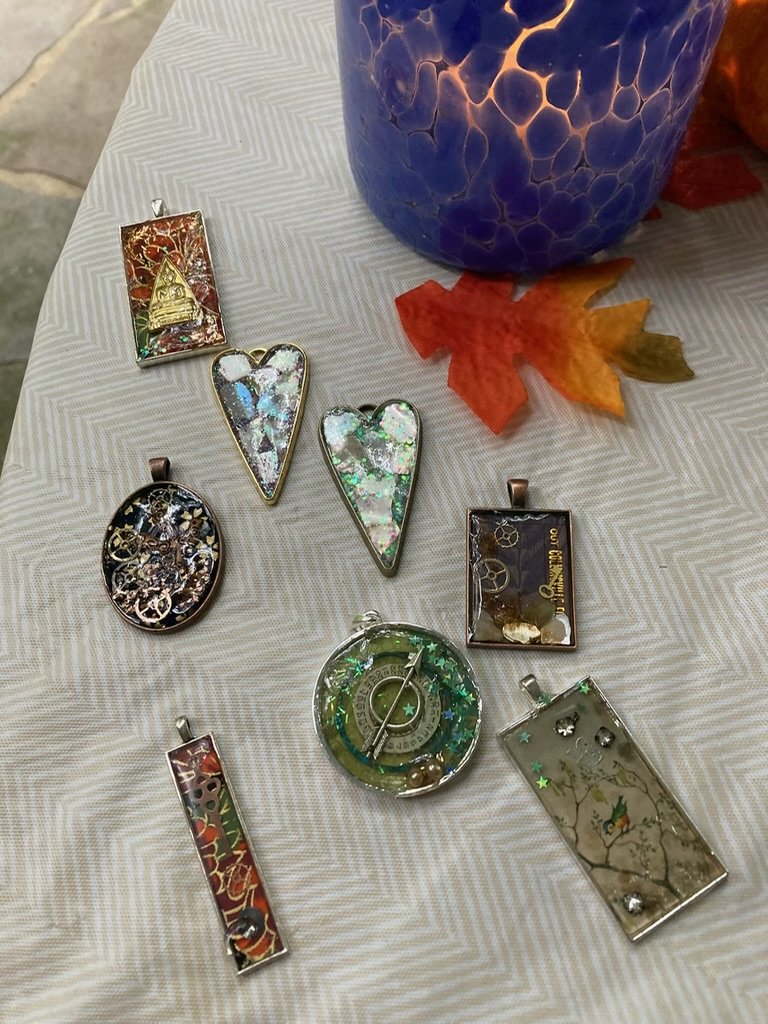
Resin Jewelry
Project Level: Easy/Intermediate (I say this because it takes some initial investment. But the project itself is easy!)
What you will need for jewelry:
Pendants-Bezels (these can be found at Michael’s or on Amazon. The deeper the bezel, the better), and/or earring bezels
Resin (I have purchased this Resin)
Necklace chain
Bits to put in the resin: glass or stone chips, dried flowers (make sure they are small!), tiny charms, glitter. etc
Toothpicks
Tweezers
Wax paper
Alcohol
Materials that help, but you don’t have to have them:
Heat gun
UV light (the Resin kit above comes with a small UV light)
If your design has layers, do the bottom layer first, let it set, then do your next layer.
Use the toothpick to move items that may have shifted when you applied the resin, and to prick any air bubbles. The heat gun is great for removing air bubbles.
Use alcohol to remove any resin from your fingers or the bezel.
If doing this as an art project, paint your canvas or wood (using ink on wood makes a cool effect), let it dry, and then slowly pour resin to cover the canvas in one smooth layer. Tilt back and forth to spread the resin. In a cardboard box, place a plastic cup or bowl upside down and then place the canvas on it to allow any resin to drip off into the box.
If air-drying, allow 24 hours to fully cure. If you have the UV light, your jewelry pieces will be cured to the touch within minutes, and fully cured within hours.